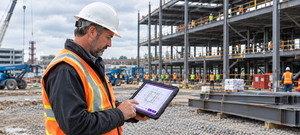
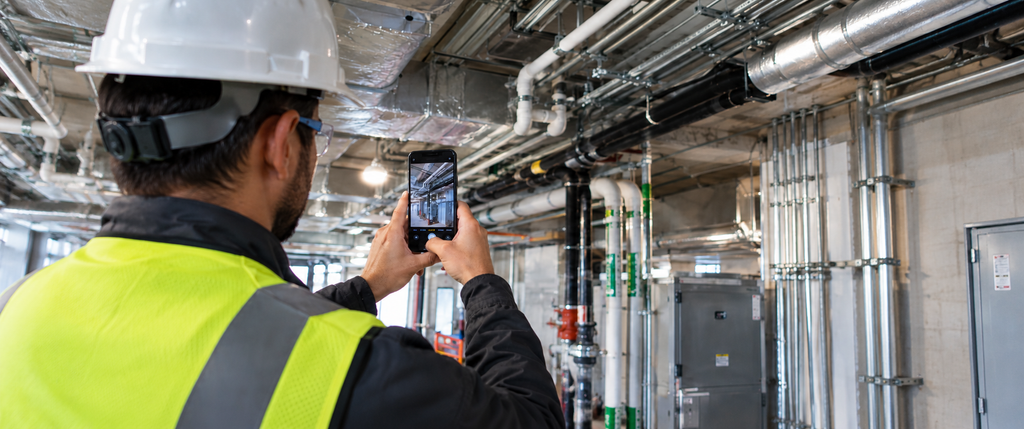
Construction photo documentation is the practice of recording a site’s conditions through images. The method you choose – handheld phone photo, fixed-position, drone, or 360-degree, decides what that record can actually tell you later.
Key Takeaways
- The method matters as much as the habit. A handheld phone photo and a fixed timelapse camera answer different questions, and neither one substitutes for the other.
- Camera placement, angle, and capture interval decide whether a record is useful six months from now or just a folder of pictures.
- Photo naming conventions and geotagging separate photo documentation from photo storage.
- Preconstruction and pre-renovation documentation look similar on the surface but follow different rules.
- Drone and 360-degree capture aren’t a separate category from reality capture. They’re the first half of it.
Why Construction Photo Documentation Matters
A handheld photo taken from the wrong angle and a fixed camera nobody bothered to geotag both technically count as documentation. Neither one holds up when a dispute reaches a project manager’s desk. Neither one helps when someone’s trying to confirm a punch list item was actually finished six months after the fact. The photo exists. It just doesn’t do the job it was supposed to.
That’s the real question this guide is built around: not whether photo documentation matters, that part’s settled, but which method produces something worth keeping. Our jobsite documentation guide goes deeper into how documentation habits, ownership, and dispute protection work as a broader system.
What This Guide Covers
People talk about construction photo documentation in two different ways: as a process (what to capture, when, and why it matters) and as a set of physical methods (which camera, which angle, which setup). The process side, building a capture-organize-use habit and avoiding common mistakes, is covered in our guide to construction site photo documentation.
This guide is about the part most other resources skim past: the actual methods teams use to capture site activity, and what it takes to set them up and manage the results so they hold up later.
Construction Site Activity Documentation Methods
Most sites end up using some combination of four capture methods, and each one is suited to a different job.
Handheld and mobile capture: A phone or dedicated camera, carried by whoever’s on site. Fast, flexible, and the only method that works well for close-up detail, a crack in a slab, a rough-in before it’s covered. Its weakness is consistency. It depends entirely on someone remembering to take the photo, from roughly the same spot, at roughly the same time.
Fixed-position time-lapse cameras: Mounted once and left running, these capture the same framing automatically at set intervals, hourly, daily, or per shift. Good for tracking overall site progress over weeks or months without anyone having to remember anything. Weak for detail work, since the camera can’t move to catch something specific.
Drone-based progress photography: Aerial capture solves the problem neither handheld nor fixed cameras can: seeing the whole site at once, from an angle no ground-level camera reaches. On a site large enough that walking the perimeter takes an hour, this stops being a nice-to-have and becomes the only practical way to see grading, stockpiles, and logistics as a whole. Weather, flight regulations, and battery life are the practical limits.
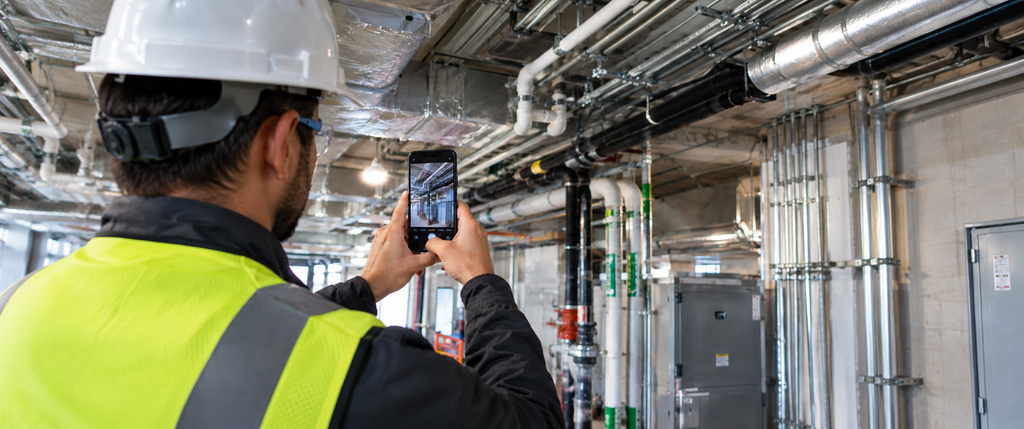
360-degree capture: A single 360 photo replaces what would otherwise take a dozen handheld shots to cover the same space. It also captures context a standard photo can’t, what’s above, behind, and to the side of whatever you were trying to document. A mechanical room with conduit on every wall and pipe overhead is the clearest example of where this earns its keep. 360 construction photo documentation has become the norm for interior walkthroughs and MEP-heavy areas specifically because of that coverage.
None of these methods replace the others. A site running only handheld photos has no consistent long-term record. A site running only a fixed camera has no close-up proof when something specific is in question. Teams that get real value from their archive are usually running at least two of the four, matched to what each is actually good at.
Best Practices for Setting Up Construction Cameras
Getting a camera on site is the easy part. Getting it positioned so the resulting photos are actually useful takes more thought than most teams give it.
Height and angle first: A fixed camera mounted too low gets blocked by equipment and material stacks within days. Elevated positions, a building corner, a crane, an adjacent structure, keep the view intact as the site changes underneath it.
Match the interval to the work: A high-rise foundation pour needs shorter intervals than a slow interior finish phase. Setting one fixed schedule for the whole project usually means too many redundant photos early and not enough detail later, when the pace picks up.
Plan for power and connectivity before day one: A fixed camera that loses power for three days creates a gap in the record that can’t be recovered. Solar and battery-backup options exist for exactly this reason, and they’re worth the setup time upfront rather than the gap later.
Weatherproof housing isn’t optional: Cameras left exposed to a full construction season take on dust, moisture, and temperature swings that shorten their working life fast. This is a small cost relative to losing months of continuous footage.
Turn on geotagging before the first capture, not after: Geotagged photos tie an image to a specific point on the site automatically. That matters once a project has more than one camera running, or spans a footprint large enough that “the north corner” isn’t specific enough anymore. Retrofitting location data onto photos that already exist is far more painful than switching it on from the start.
Don’t skip a test capture: Run the camera for a day before committing to its final position. It’s a lot easier to move a mount on day one than to explain a six-week gap in the record because the angle was wrong from the start.
Label every camera and its position, not just the photos it produces: A site running two or three fixed cameras, plus handheld and drone capture, loses track of which camera covers which zone surprisingly fast. That’s especially true after a mount gets adjusted or a camera gets swapped out for maintenance.
Put together, these points are a construction photo documentation checklist most teams never write down, height and angle, interval, power, weatherproofing, geotagging, a test run, a label. Running through it once per camera before capture starts is the difference between a setup that holds up for a year and one that needs fixing three weeks in.
Managing What You Capture
A photo that isn’t named or tagged consistently is barely better than no photo once enough time has passed that nobody remembers taking it. Photo naming conventions are the part of construction photo documentation that get the least attention and cause the most quiet damage.
A folder of files named ‘IMG_4471.jpg’ and ‘IMG_4472.jpg’ looks organized right up until someone needs a specific one. A convention like project, date, location, trade, ‘Building3_2026-03-14_L3-Electrical_RoughIn’, costs ten extra seconds to apply and saves real time searching later, but only if everyone on the crew actually uses it, not just the person who set it up.
Geotagged photos handle the location half automatically. A naming convention or tagging system handles the rest, together they’re construction photo management at its simplest, every photo dated, located, and filed somewhere the whole team can reach.
This is also where software enters the picture. It’s worth being precise about what it’s actually solving: construction photo documentation software doesn’t take better photos than a good camera setup does. What it does is remove the manual step of tagging, filing, and organizing.
That frees up the team’s time for using the photos instead of hunting for them. Track3D’s VisualTrack handles this layer specifically, tagging and organizing captures from any of the methods above so they’re searchable later regardless of which camera or method produced them.
Two Cases Worth Handling Differently
Most construction photo documentation guidance assumes a straightforward new-build sequence. Two situations don’t fit that assumption, and both get skipped more often than they should.
Preconstruction photo documentation: Before any ground gets broken, the site itself is worth a full record: boundaries, existing vegetation, drainage patterns, neighboring structures, access routes. No construction progress exists yet to track. What matters is establishing what the land and surroundings looked like before anyone touched them. That’s exactly what gets questioned if a neighbor or inspector raises a concern about pre-existing conditions later.
Pre-renovation photo documentation: A different scenario: an occupied or previously built space, where the goal is protection rather than a baseline. Every existing crack, water stain, uneven floor, or prior repair needs to be on record before demolition starts. Once work begins, there’s no way to prove what condition existed beforehand.
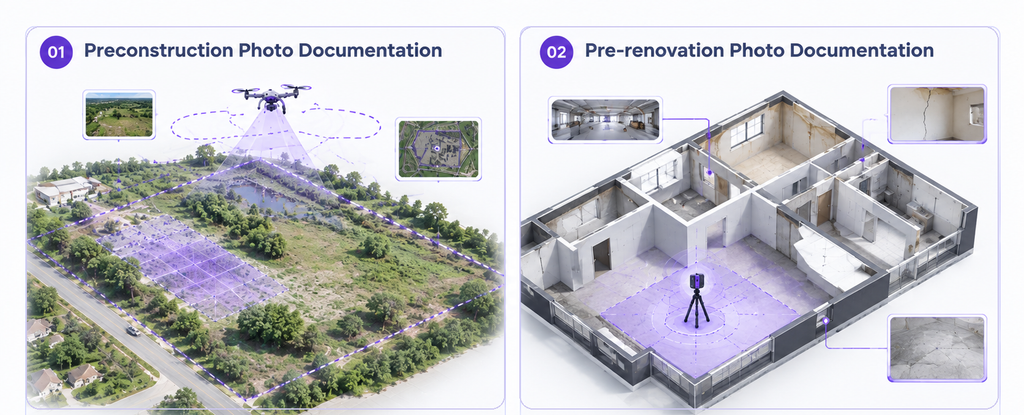
The methods differ slightly too. Preconstruction work leans on drone and wide-angle coverage, since the subject is the land itself. Pre-renovation work leans on handheld and 360-degree capture, since the goal is thorough coverage of an existing interior in a single pass. A fixed camera has nothing to compare against yet in either case. That comes later, once actual construction starts.
Where Methods Lead: Reality Capture
A drone flight in July and the same flight in November are just two separate sets of photos unless something ties them together. That’s really the only thing separating drone and 360-degree capture, as covered in this guide, from reality capture. It isn’t the hardware, which is often identical. It’s whether those captures get layered into something measurable and comparable, rather than reviewed side by side by eye.
Teams already flying drones or shooting 360 walkthroughs for construction photo documentation have the harder half of the work done already, capturing consistently. Reality Capture picks up from there, adding the structure to compare a capture precisely against an earlier one or against a design model.
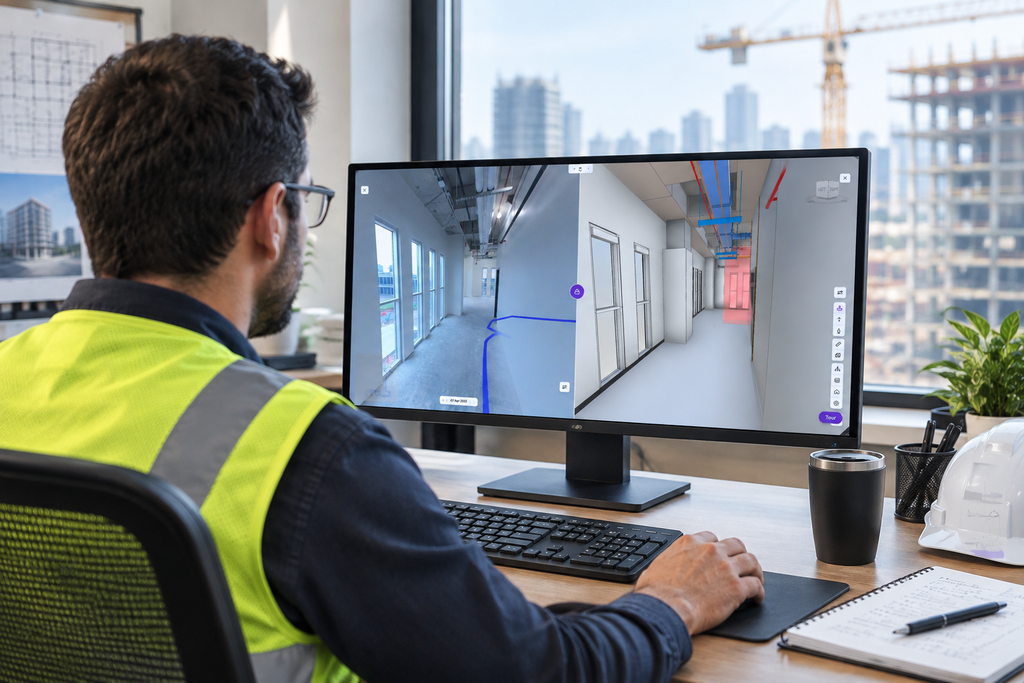
See How Track3D Handles Every Capture Method
Whether your team is shooting handheld, running a fixed camera, or flying a drone, Track3D organizes the results into one searchable record instead of three separate ones. Take a look at what that looks like on a live project.
Frequently Asked Questions
What’s the best camera setup for construction photo documentation?
There isn’t a single best option. Handheld covers detail, fixed cameras cover consistent long-term progress, drones cover the whole site from above, and 360-degree cameras cover interior and MEP-heavy spaces. Most well-documented projects combine at least two.
How often should a fixed construction camera take photos?
It depends on the phase. Fast-moving phases like foundation work benefit from shorter intervals, sometimes hourly, while slower interior work can go with daily or per-shift captures without losing meaningful detail.
What’s the difference between preconstruction and pre-renovation photo documentation?
Preconstruction documents the raw land and surroundings before any work starts, boundaries, drainage, neighboring structures. Pre-renovation documents an existing occupied or built space before demolition, cracks, damage, prior repairs. Both are protective, but they’re recording different things.
What naming convention should I use for construction photos?
Something consistent that anyone on the team can apply without guessing, typically project, date, location, and trade. The specific format matters less than everyone actually using the same one.
Do I still need geotagging if photos are already timestamped?
Yes. A timestamp tells you when. Geotagging tells you where, and on any project with more than one capture zone, that distinction is what makes a photo findable later instead of just dated.
Does construction photo documentation actually help with disputes? A: Yes, consistently. A dated, located photo of a condition or installation is hard to argue with, which is often the first thing that settles a dispute. The deeper mechanics of how documentation habits protect against disputes and support quality control are covered in our jobsite documentation guide